Example - One TARGET Genome File
This section will go through an example of how to run the pipeline step by step assuming that you’ve gone ahead and installed it through pip or cloned and setup through git.
Step1 - Establish subdirectories such as starting directory, out directory, REFs, and Tools
In the example case, the file we will be using is located within <path/to/mitopipeline/example>, so depending on where your mitopipeline package is installed, you will have to specify that directory.
In addition, the REFs directory will need to be referenced based on where you have the human reference genomes. The specific steps for when the reference genomes are needed can be found in the Pipeline Steps page.
It’s also necessary to specify where the tools directory that contains the softwares needed for each individual step. In my case, the software package’s executables are located in the same folder as the start and out folders. Thus, the directories are as follows:
Thus, our following directories to be specified can be relative to the current directory you are in or they can be the full path. In my case, the directories are:
- start directory == ‘./example’
- out directory == ‘../test/out’
- tools directory == ‘./tools’
- genomes directory == ‘/Users/Timmy/Documents/CWRU/Thesis/mitopipeline/mitopipeline/REFs’
Since the example genome file is from Complete Genomics, we won’t be clipping the bam files and thus we won’t need bam2fastq and seqtk.
- ‘./tools/gatk/GenomeAnalysisTK.jar’
- ‘./tools/snpeff/snpEff.jar’
- ‘./tools/annovar/table_annovar.pl’
- ‘./tools/annovar/convert2annovar.pl’
- ‘<path/to/REFs>/hg38-nochr.fa’
- ‘<path/to/REFs>/hg38.fa’
- ‘<path/to/REFs>/rCRS-MT.fa’
Details about each step’s requirements can be found in the Pipeline Steps page.
Step2 - Run pipeline
Now that we have our directories, we can run the pipeline.
$ mitopipeline -s ./example -o ../test/out -g /Users/Timmy/Documents/CWRU/Thesis/mitopipeline/mitopipeline/REFs/ -t ./tools -r clipping extractmito
One thing to note is that since this example file is from the TARGET database and was sequenced by Complete Genomics, we will be using the split gap step but without clipping since our reads are relatively short already. Also, since our starting file is already the mitochondrial genome, we can also skip the extract mito step.
It’s also worth noting that we do not specify the number of workers. Since we only have one file in our example folder, it’s not necessary to have multiple workers and so we can use the default of 1.
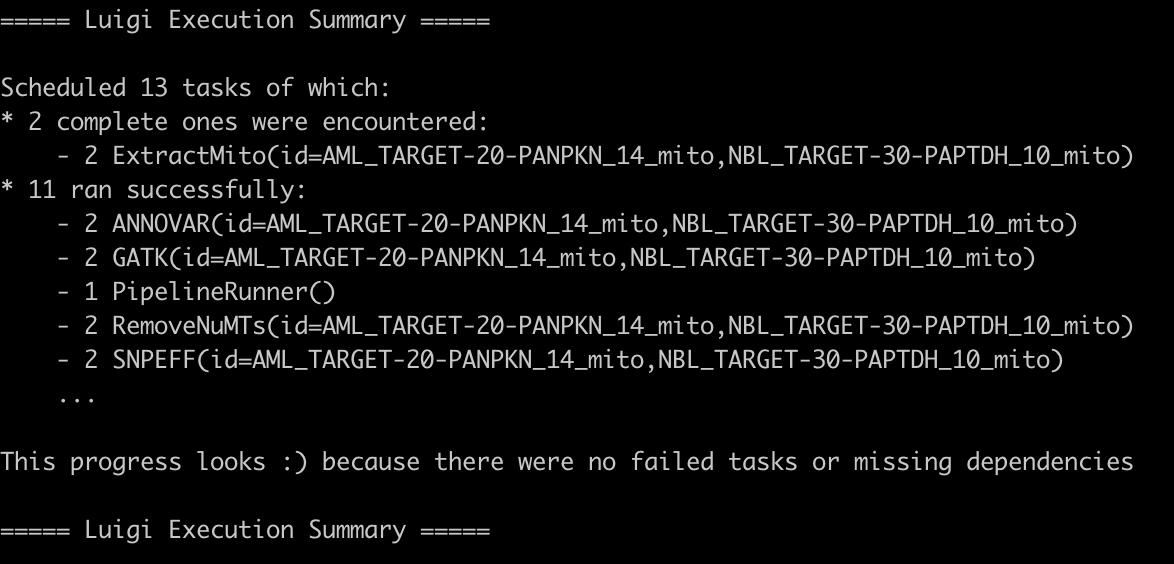
Step3 - View Output
Once the pipeline has finished running, you will see either a successful or error. You can read the log output to see what parts may have failed and which have succeeded. All output files can be viewed within the specified out directory with subdirectories created for each step. Here is an example of what a successful output would look like: